Last mod: 2025.01.17
Raspberry Pi - I²C
Configuration used in the example
- Raspberry Pi 4 with Raspberry Pi OS Lite (64-bit)
- WaveShare UPS HAT for Raspberry Pi as an example of a device communicating via I2C.
Turn on I²C
The first is to enable i2c:
sudo raspi-config
and then select:
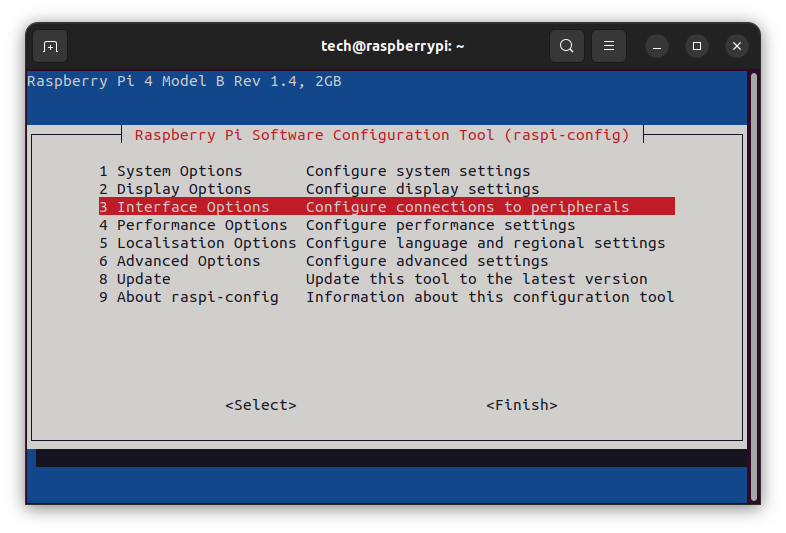
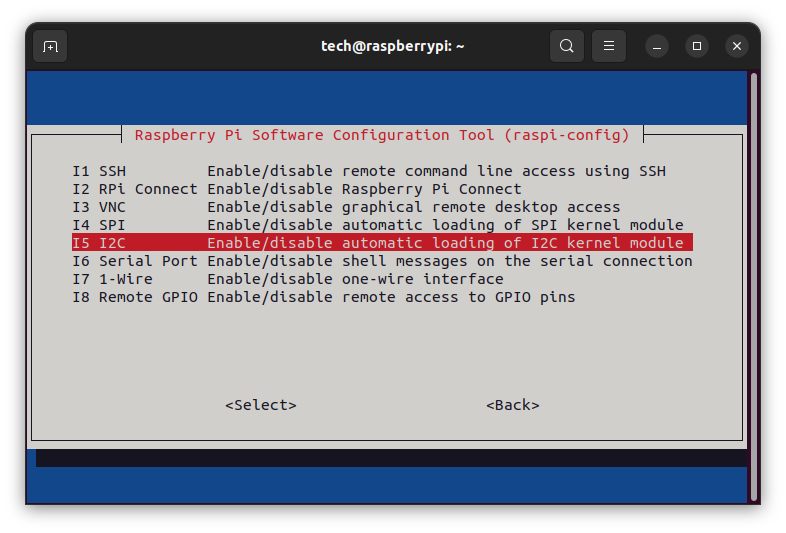
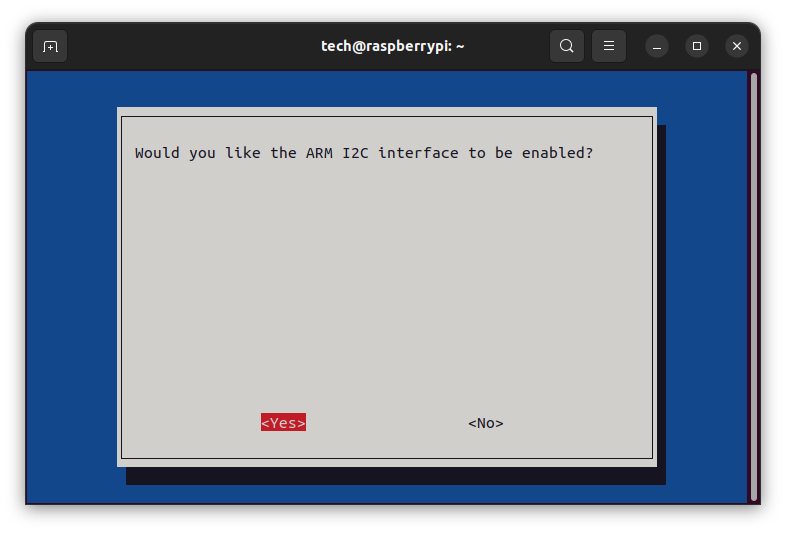
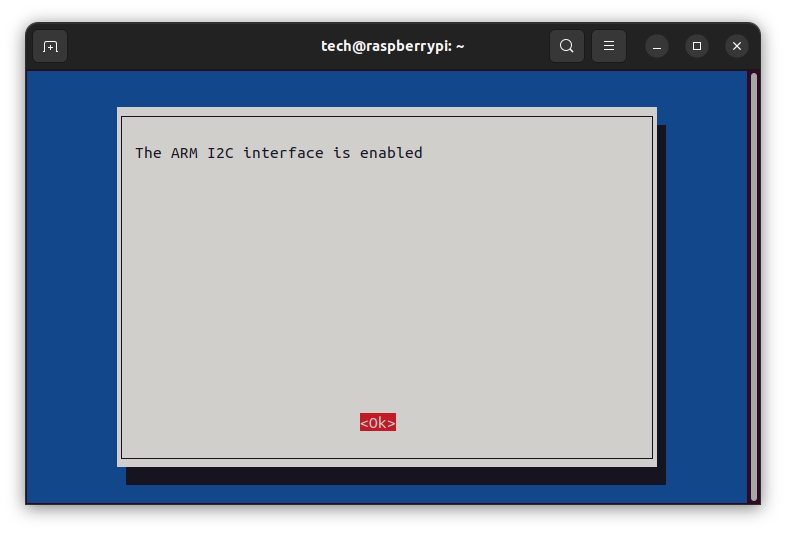
After saving the changes, a reboot of the system is required.
sudo reboot
Bash I²C commands
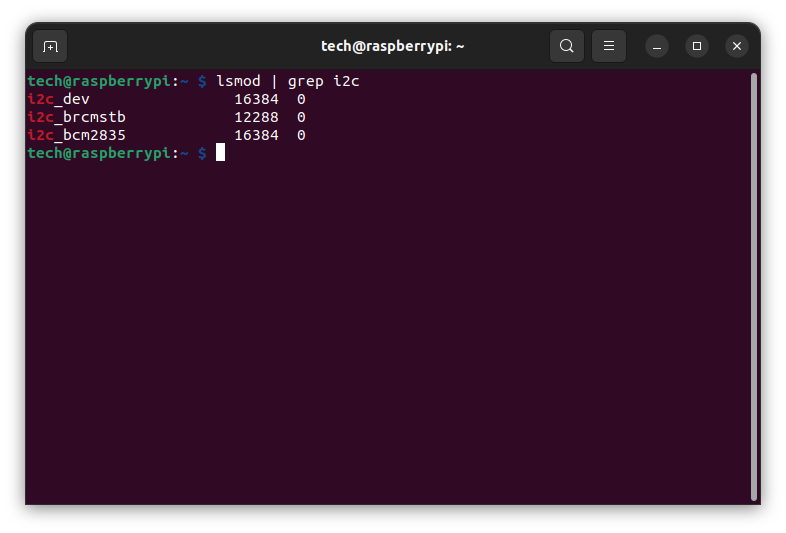
Verify that the I²C kernel modules are loaded:
lsmod | grep i2c
Install I²C tools:
sudo apt -y install i2c-tools
and list of I²C interfaces:
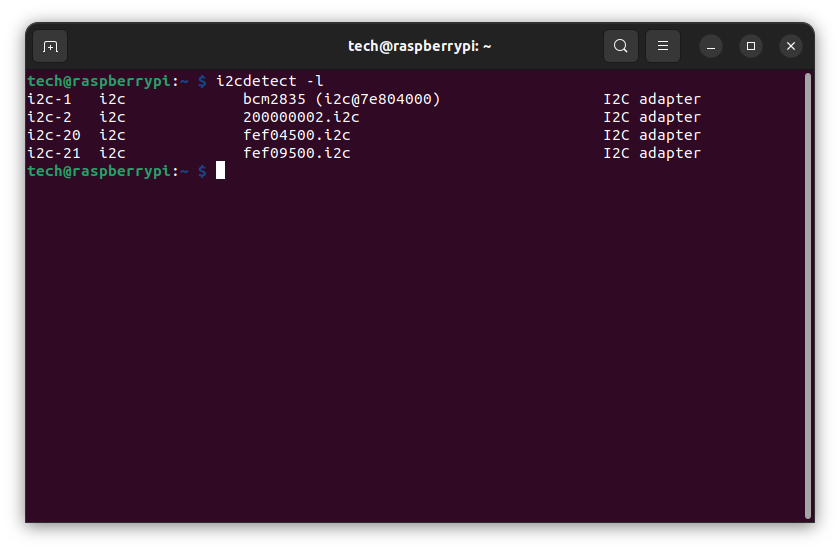
i2cdetect -l
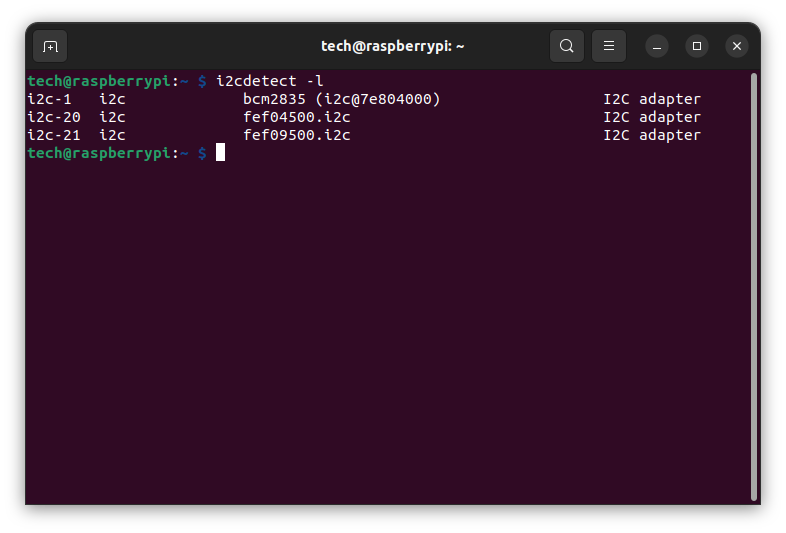
Three interfaces are listed: i2c-1, i2c-20, i2c-21. The digits after the hyphen are the interface numbers: 1, 20, 21. Unfortunately, only interface 1 is available to the user, i.e. pins 3 and 5 (GPIO 2 and GPIO 3). The other two interfaces are for internal use of the Raspberry. To connect more than one device to a single I²C connector, we need to use a multiplexer. Another solution is to use a software I²C interface. Which I will describe in a later section.
List I²C devices connected to interface 1:
i2cdetect -y 1
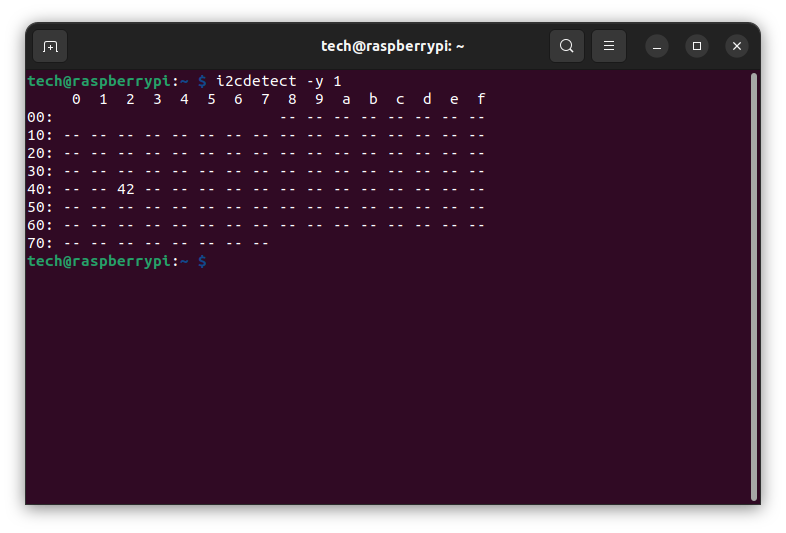
In the screenshot above we can see that one device with address 42 is connected.
Software I²C
We can define an I²C interface on any of the GPIO pins. Of course, if they are used for other communication, other interfaces, e.g. UART, must be disabled.
To add the interface we need to edit the file /boot/firmware/config.txt
sudo vi /boot/firmware/config.txt
Let's insert a line after the [all] section:
dtoverlay=i2c-gpio,bus=2,i2c_gpio_delay_us=1,i2c_gpio_sda=20,i2c_gpio_scl=21
Where:
- bus - bus number, 2 means i2c-2
- i2c_gpio_delay_us - determines the delay in microseconds between SDA and SCL line state changes during I²C operations. This is crucial for adjusting the software speed of I²C
- i2c_gpio_sda - SDA bus pin number (not GPIO number)
- i2c_gpio_scl - SCL bus pin number (not GPIO number)
Reboot:
sudo reboot
List of interfaces, in the second line we see our new interface:
