Last mod: 2025.01.16
Raspberry Pi - DFRobot Gravity v2.1.0 (INA219), I2C Digital Wattmeter
Hardware
- DFRobot Gravity v2.1.0 (INA219)
- Raspberry Pi
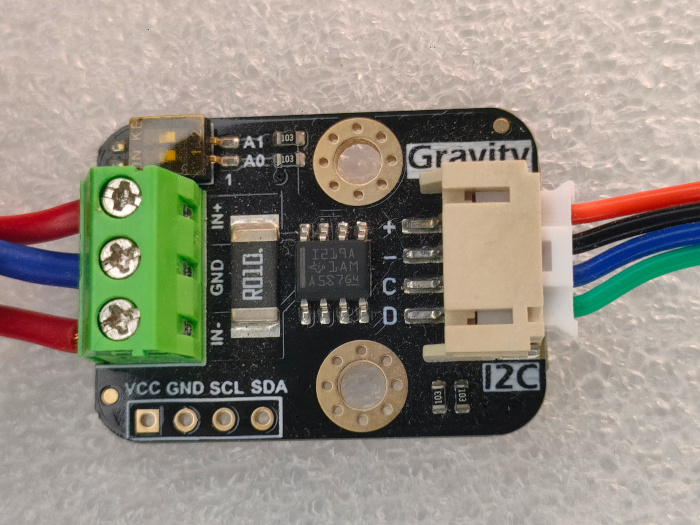
We need to connect the circuit diagram from https://raw.githubusercontent.com/DFRobot/Wiki/master/SEN0291/image/SEN0291_connection_RP3(EN).png:
.png)
Configuration and examples
Enable I²C as described at the link.
Based on information about the available I2C addresses, depending on the position of the two switches:
- 0x40: A0=0, A1=0
- 0x41: A0=1, A1=0
- 0x44: A0=0, A1=1
- 0x45: A0=1, A1=1
In the bash console, we look for the expected address:
i2cdetect -l
i2cdetect -y 1
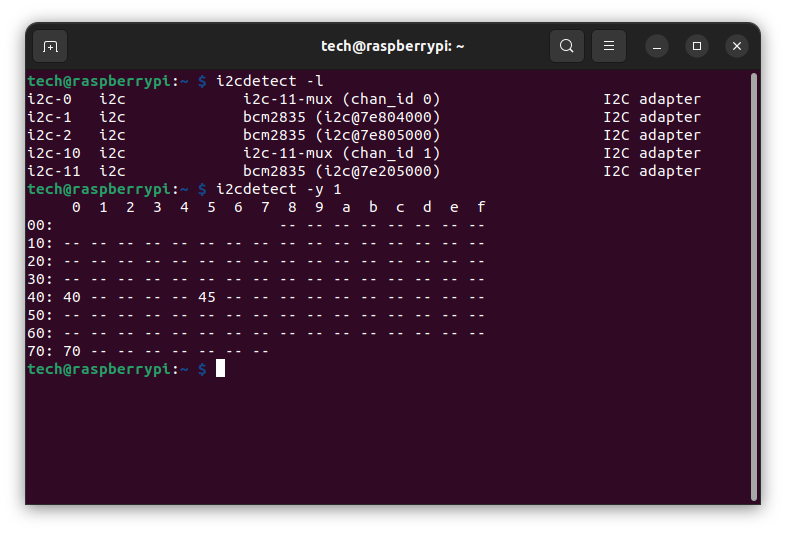
In our case it will be the address 0x45.
Let's install git to download examples:
sudo apt update
sudo apt -y install git
Download git repository:
git clone https://github.com/DFRobot/DFRobot_INA219.git
and run example:
cd DFRobot_INA219/Python/RespberryPi/examples/get_voltage_current_power/
python3 get_voltage_current_power.py
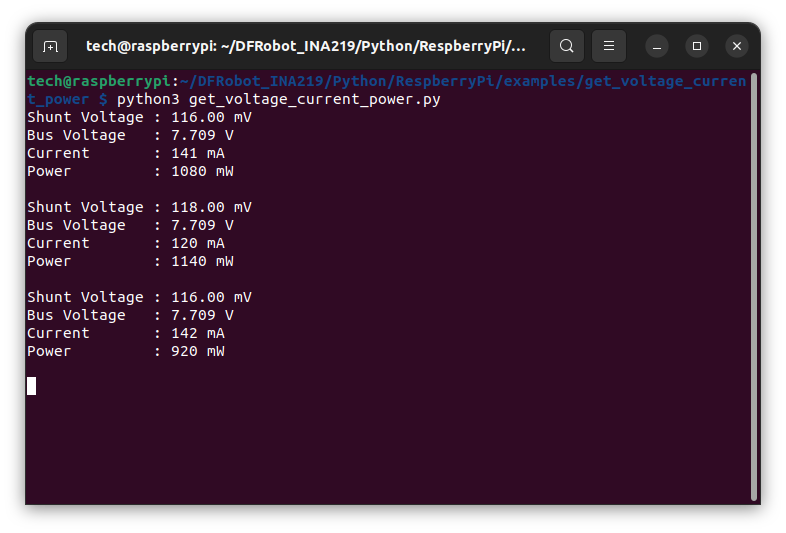
REST API
Parameter control in the console demonstrates only the module's capabilities. Using the example above, let's try to expose the INA219 sensor parameters via a REST API.
Let's install a framework for building REST applications quickly:
sudo apt -y install python3-flask
Let's create a project directory:
mkdir RaspberryPi_INA219
cd RaspberryPi_INA219/
Copy DFRobot_INA219 library file:
cp ~/DFRobot_INA219/Python/RespberryPi/DFRobot_INA219.py .
And create REST API application:
vi INA219_REST_API.py
Insert Python code:
from flask import Flask, send_from_directory, g, jsonify
from DFRobot_INA219 import INA219

app = Flask(__name__)

@app.before_request
def before_request():
   ina219_reading_mA = 1000
   ext_meter_reading_mA = 1000
   g.ina = INA219(1, INA219.INA219_I2C_ADDRESS4) #Change I2C address by dialing DIP switch
   while not g.ina.begin():
      time.sleep(2)
   g.ina.linear_cal(ina219_reading_mA, ext_meter_reading_mA)

@app.route('/')
def serve_static_page():
    return send_from_directory('static', 'index.html')

@app.route('/get_voltage_current_power', methods=['GET'])
def get_data():
    data = {
            "ShuntVoltage_mV": g.ina.get_shunt_voltage_mV(),
            "BusVoltage_V": g.ina.get_bus_voltage_V(),
            "Current_mA": g.ina.get_current_mA(),
            "Power_mW": g.ina.get_power_mW()
        }
    return jsonify(data)

if __name__ == '__main__':
    app.run(host='0.0.0.0', debug=True)
Launch:
python3 INA219_REST_API.py
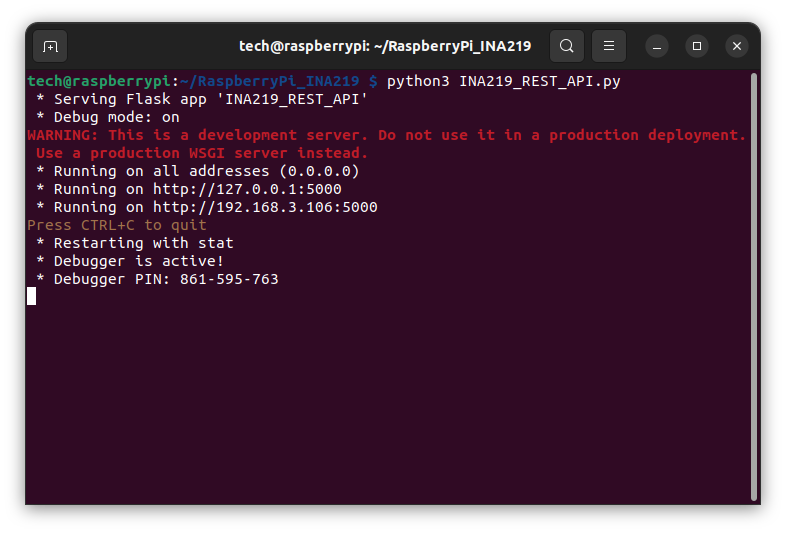
If everything is ok, we enter the address of the Raspberry Pi in the browser with the url: http://RASPBERRY_PI_IP:5000/get_voltage_current_power
The effect should be similar to that in the screenshot:

Let's go further, let's read the data through the REST API and present it as an HTML page. Add the code to INA219_REST_API.py:
@app.route('/')
def serve_static_page():
    return send_from_directory('static', 'index.html')
Let's create a subdirectory static of hte RaspberryPi_INA219 driectory ana add file index.html:
<!DOCTYPE html>
<html lang="en">
<head>
    <meta charset="UTF-8">
    <meta name="viewport" content="width=device-width, initial-scale=1.0">
    <title>INA219 values from API</title>
</head>
<body>
    <div>Bus voltage: <b><span id="busVoltageValue"></span><span> V</span></b></div>
    <div>Current: <b><span id="currentValue"></span><span> mA</span></b></div>
    <div>Power: <b><span id="powerValue"></span><span> mW</span></b></div>
    <div>Shunt voltage: <b><span id="shuntVoltageValue"></span><span> mV</span></b></div>

    <script>
        const updateValues = (data) => {
            document.getElementById('busVoltageValue').textContent = data.BusVoltage_V.toFixed(2);
            document.getElementById('currentValue').textContent = data.Current_mA.toFixed(2);
            document.getElementById('powerValue').textContent = data.Power_mW.toFixed(2);
            document.getElementById('shuntVoltageValue').textContent = data.ShuntVoltage_mV.toFixed(2);
        };

        const fetchData = async () => {
            try {
                const apiUrl = `${window.location.origin}/get_voltage_current_power`;
                const response = await fetch(apiUrl);
                const data = await response.json();
                updateValues(data);
            } catch (error) {
                console.error('Error data loading:', error);
            }
        };

        setInterval(fetchData, 1000);
        fetchData();
    </script>
</body>
</html>
Restart the application:
python3 INA219_REST_API.py
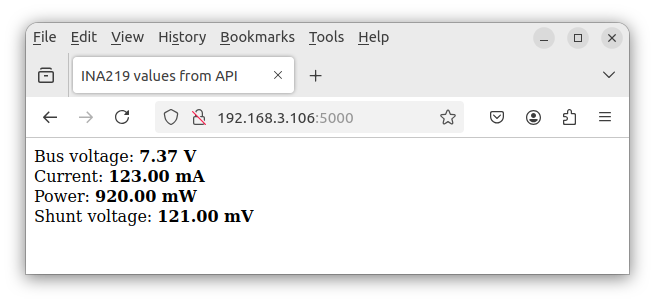
After entering the link http://RASPBERRY_PI_IP:5000/static/index.html we should see:
Links
https://gitlab.com/dziak.tech/examples/-/tree/main/IoT/RaspberryPi_INA219
https://www.dfrobot.com/product-1827.html
https://wiki.dfrobot.com/Gravity%3A%20I2C%20Digital%20Wattmeter%20SKU%3A%20SEN0291
https://github.com/DFRobot/Wiki/raw/master/SEN0291/res/SEN0291%20(V1.0)%20Schematic.pdf
https://github.com/DFRobot/Wiki/raw/master/SEN0291/res/INA219.pdf
https://github.com/DFRobot/DFRobot_INA219.git